For enhancing communication through Odoo, contemplate integrating WhatsApp via the WhatsApp Business API or third-party modules. These facilitate functionalities such as automated messaging and customer interaction management directly within the Odoo 17 platform. Adhere to WhatsApp Business API guidelines to ensure a smooth integration process.
Improved Connectivity with Odoo WhatsApp Integration
The Odoo WhatsApp application streamlines communication by allowing businesses to link a WhatsApp Business Account (WABA) with their Odoo database. This enables them to receive and reply to WhatsApp messages directly within Odoo, craft personalized templates featuring dynamic placeholders, and dispatch pre-approved templates for diverse purposes like sales quotations, receipts, invoices, and event tickets.
Setting Up WhatsApp in a Meta
Integrating WhatsApp with Odoo involves utilizing a standard API connection and configuring it on Meta through the following steps:
1. Establish a Meta business account
2. Establish a Meta developer account
3. Establish an app and WhatsApp product on Meta’s developer console
4. Verify the API connection.
Setting up a Meta Business Account
To establish a Business account with Meta (formerly Facebook), visit: Facebook Business Manager at https://business.facebook.com/overview
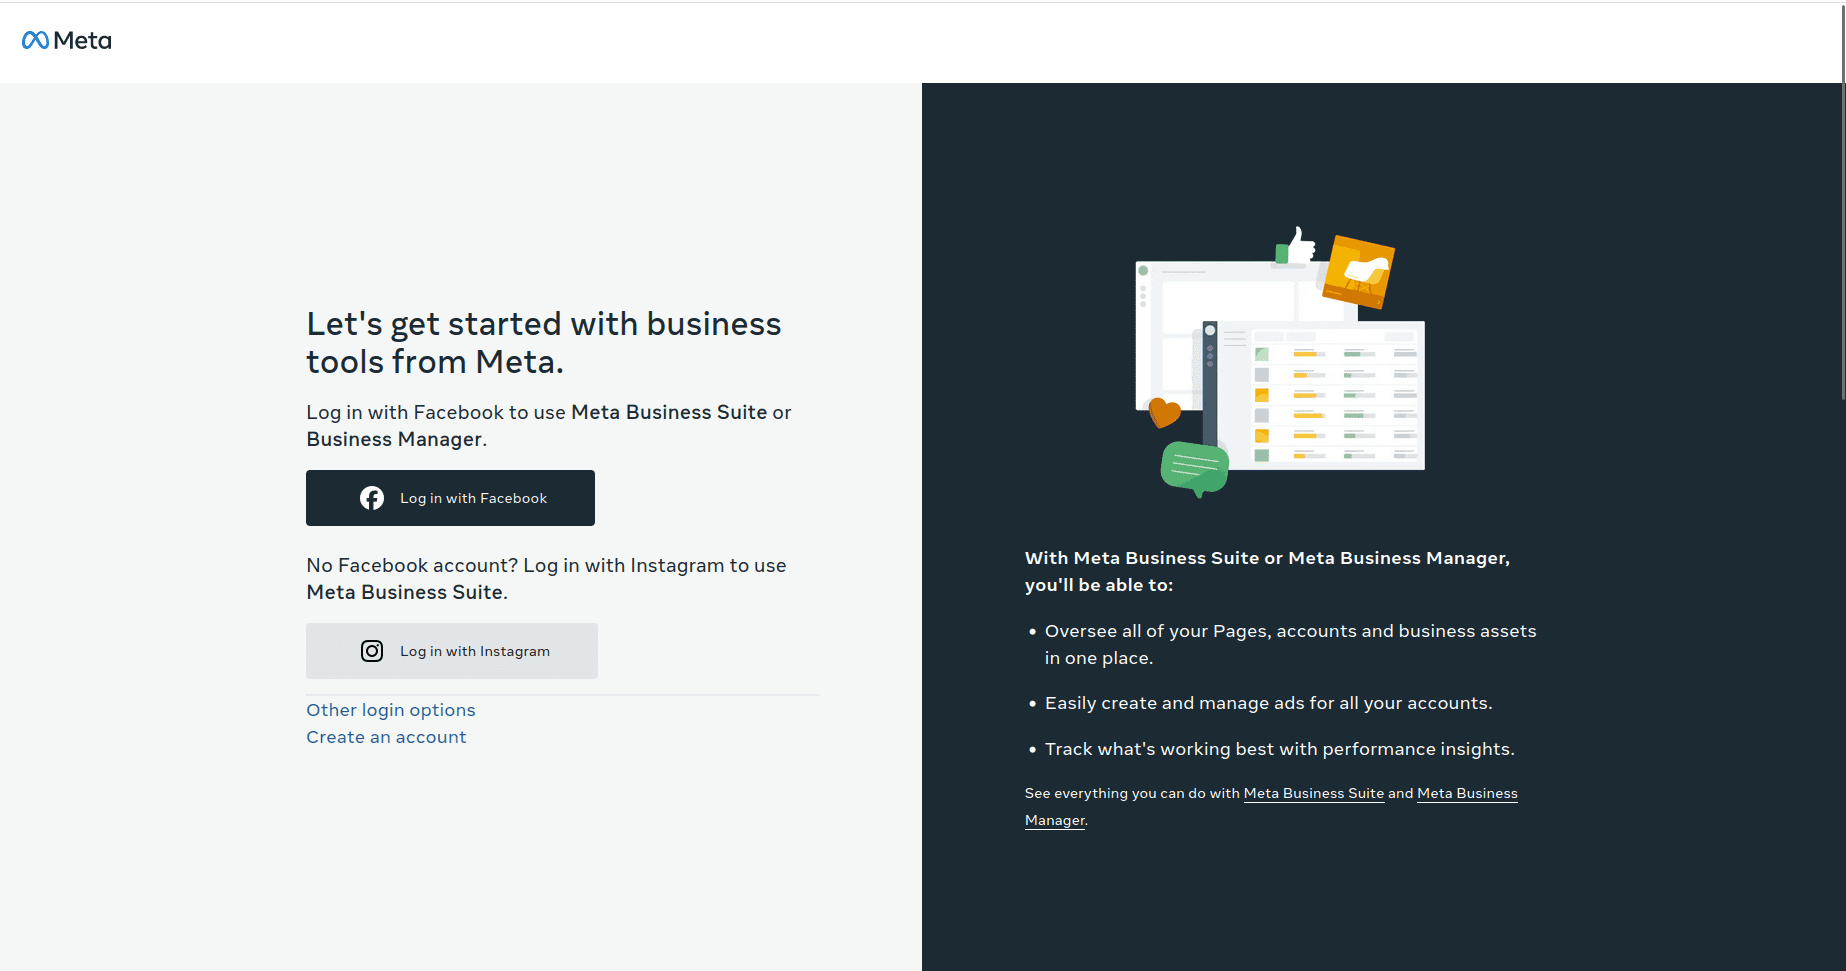
Start by selecting "Create account" and proceed to input the business name, administrator’s name, and a work email address.
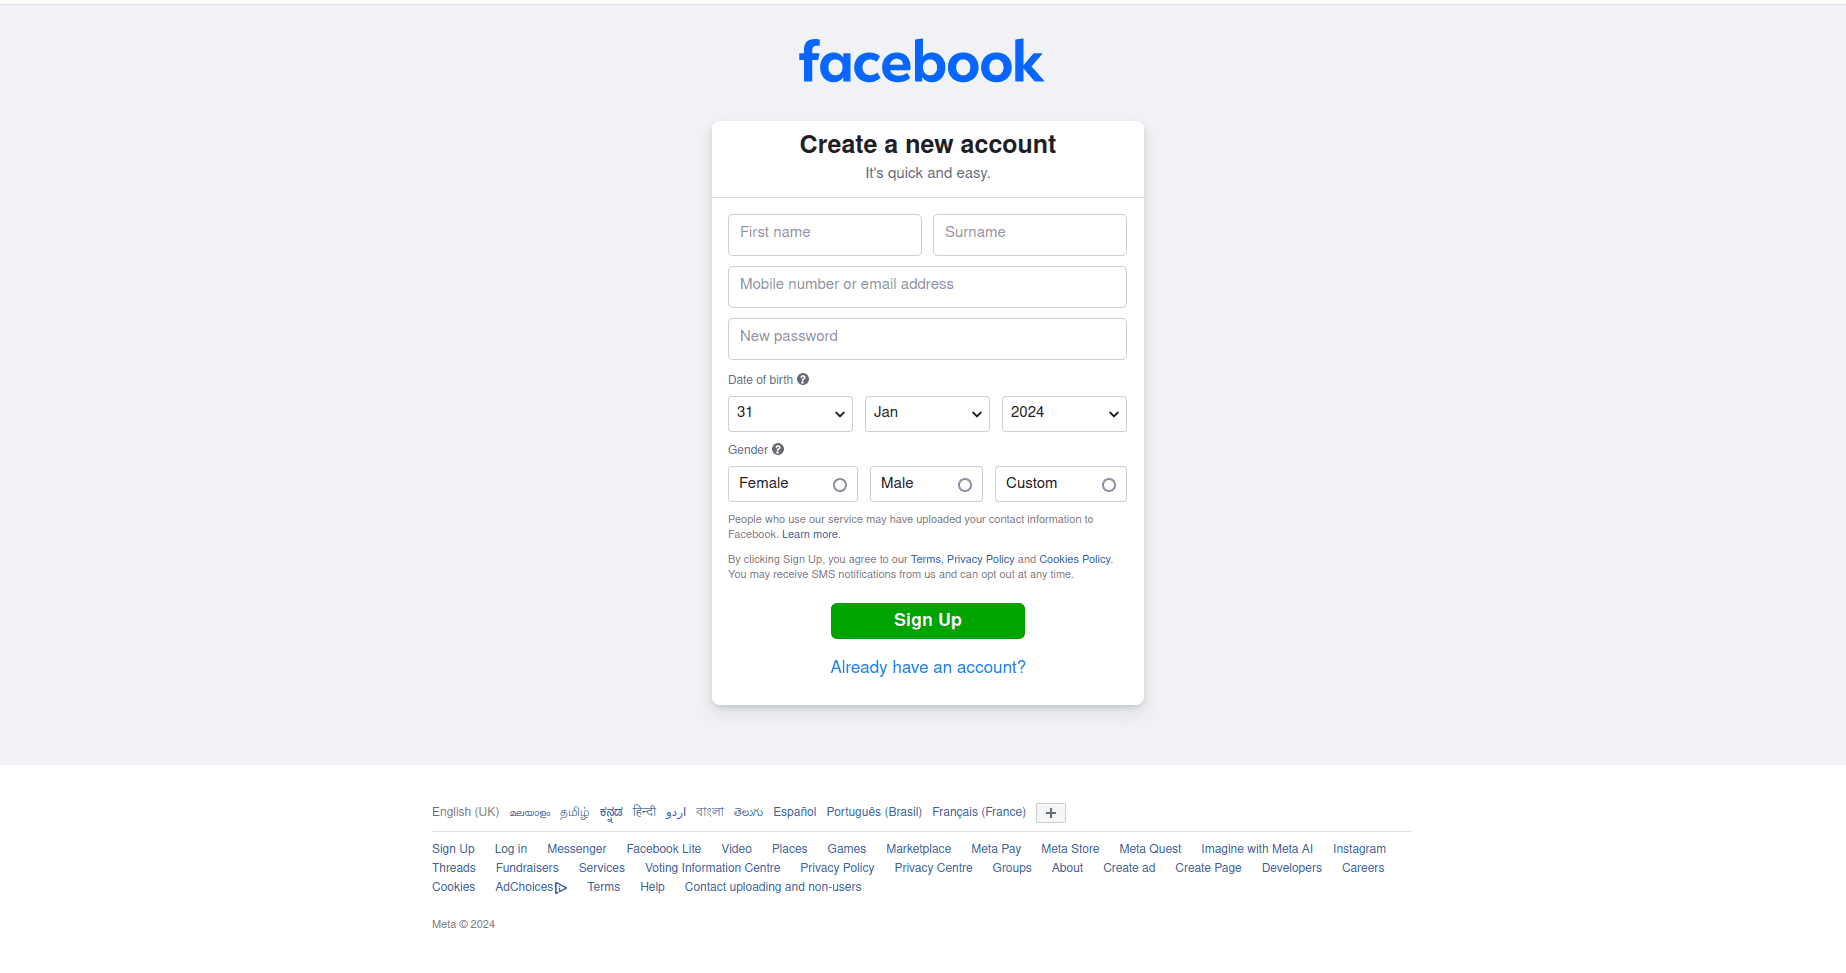
Next, click "Next," and a pop-up window will emerge, requesting confirmation of the email address. Once confirmed, click "Done" to close the window.
Subsequently, follow the guidelines provided in the email sent by Facebook to verify the creation of the business account and finalize the setup process.
Establish a WhatsApp Business Account: Visit https://www.facebook.com/business/help/1710077379203657?id=180505742745347
To create a WhatsApp Business Account (WABA) for smooth integration with Odoo, follow these steps to adjust your account settings and link it to your Odoo database.
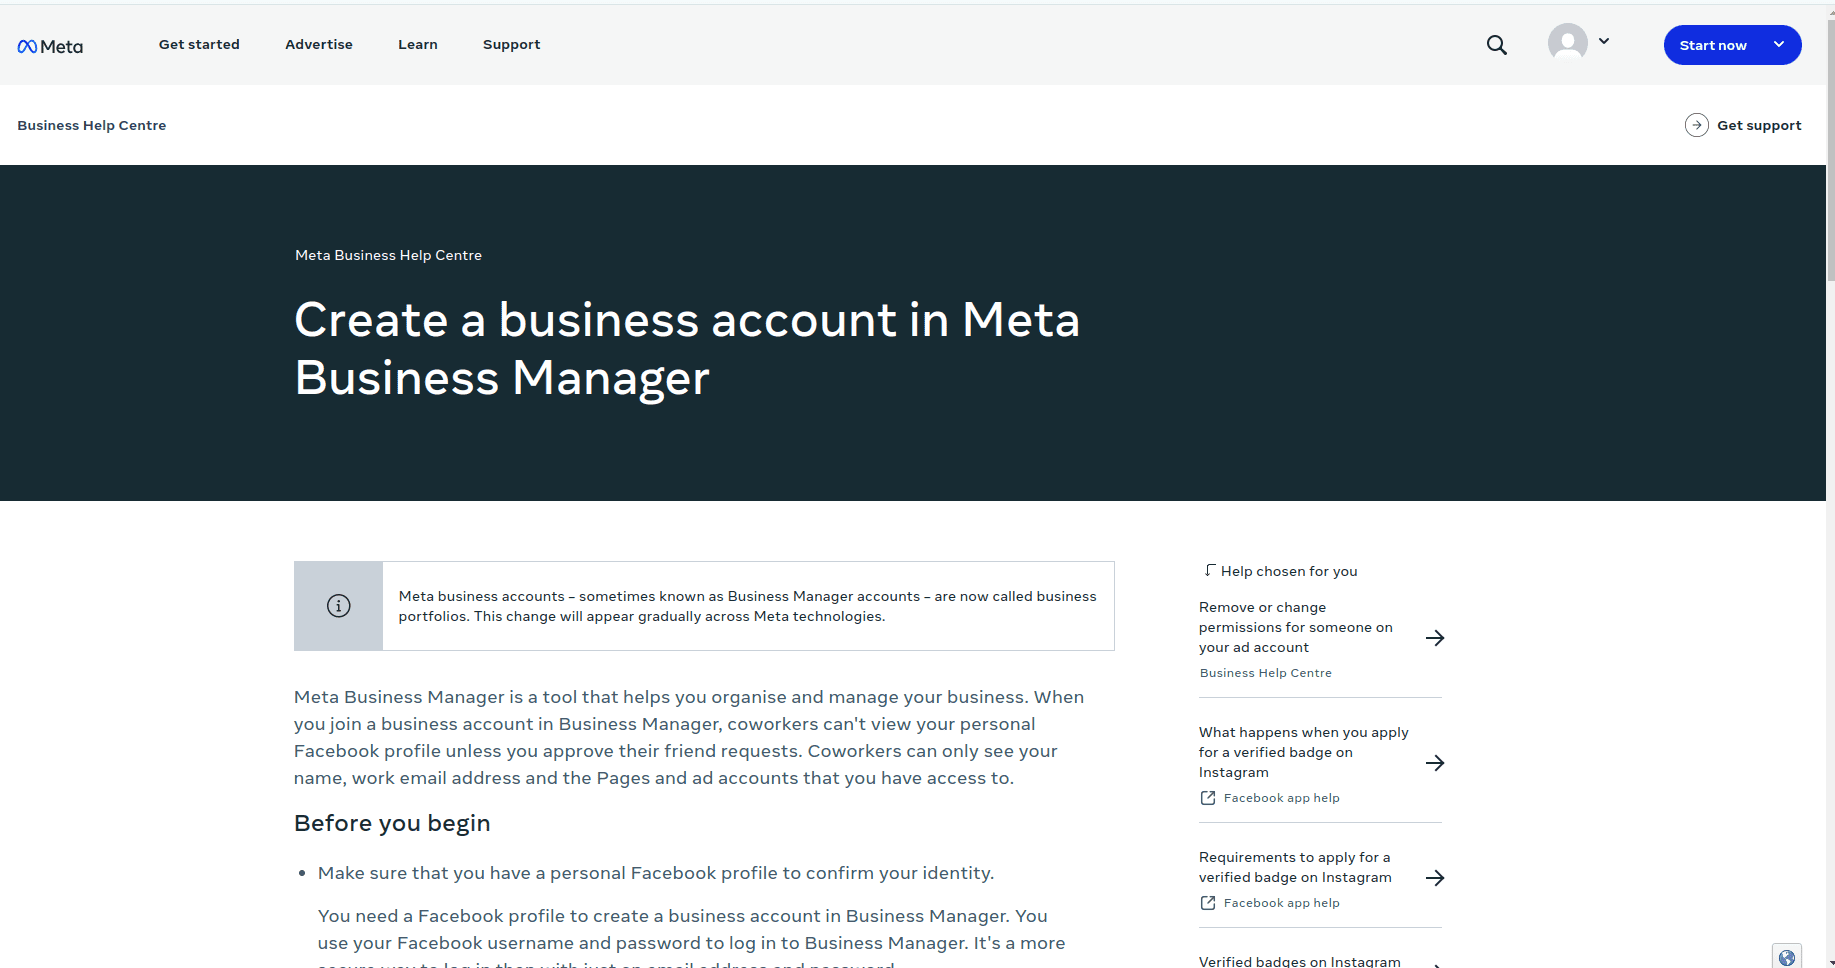
Creating a Business Account
To establish a business account within Business Manager:
1. Navigate to https://business.facebook.com/overview
2. Select "Create an account."
3. Provide a business name, your name, work email address, and then click Next.
4. Input your business details and then click Submit.
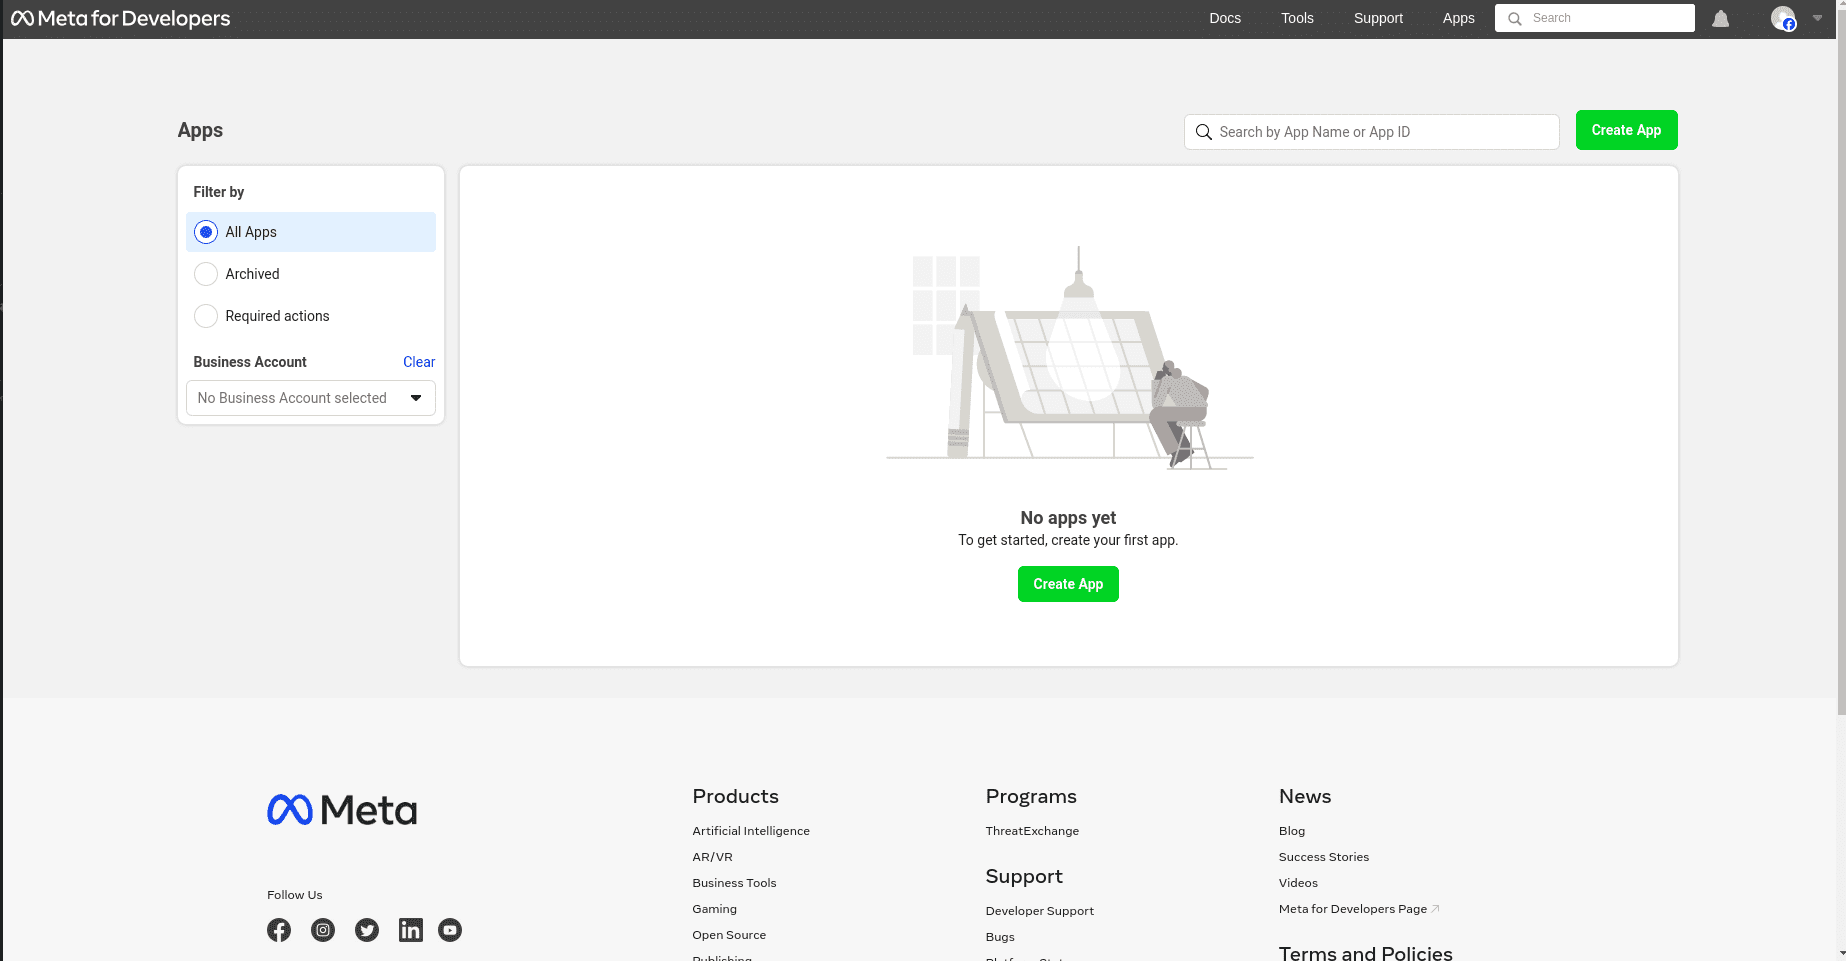
Creating an App
Meta Developer Dashboard: https://developers.facebook.com/
Access the Meta Developer Dashboard, and log in using your Meta developer account. If you haven't created an account yet, link a Facebook account to begin creating your Meta developer account.

After successfully logging into the Meta developer account, click on "My Apps" located in the top right corner. This action will direct the administrator to all the apps configured by the developer within this specific developer account. Click on "Create App" to initiate the process of setting up a new Meta application.
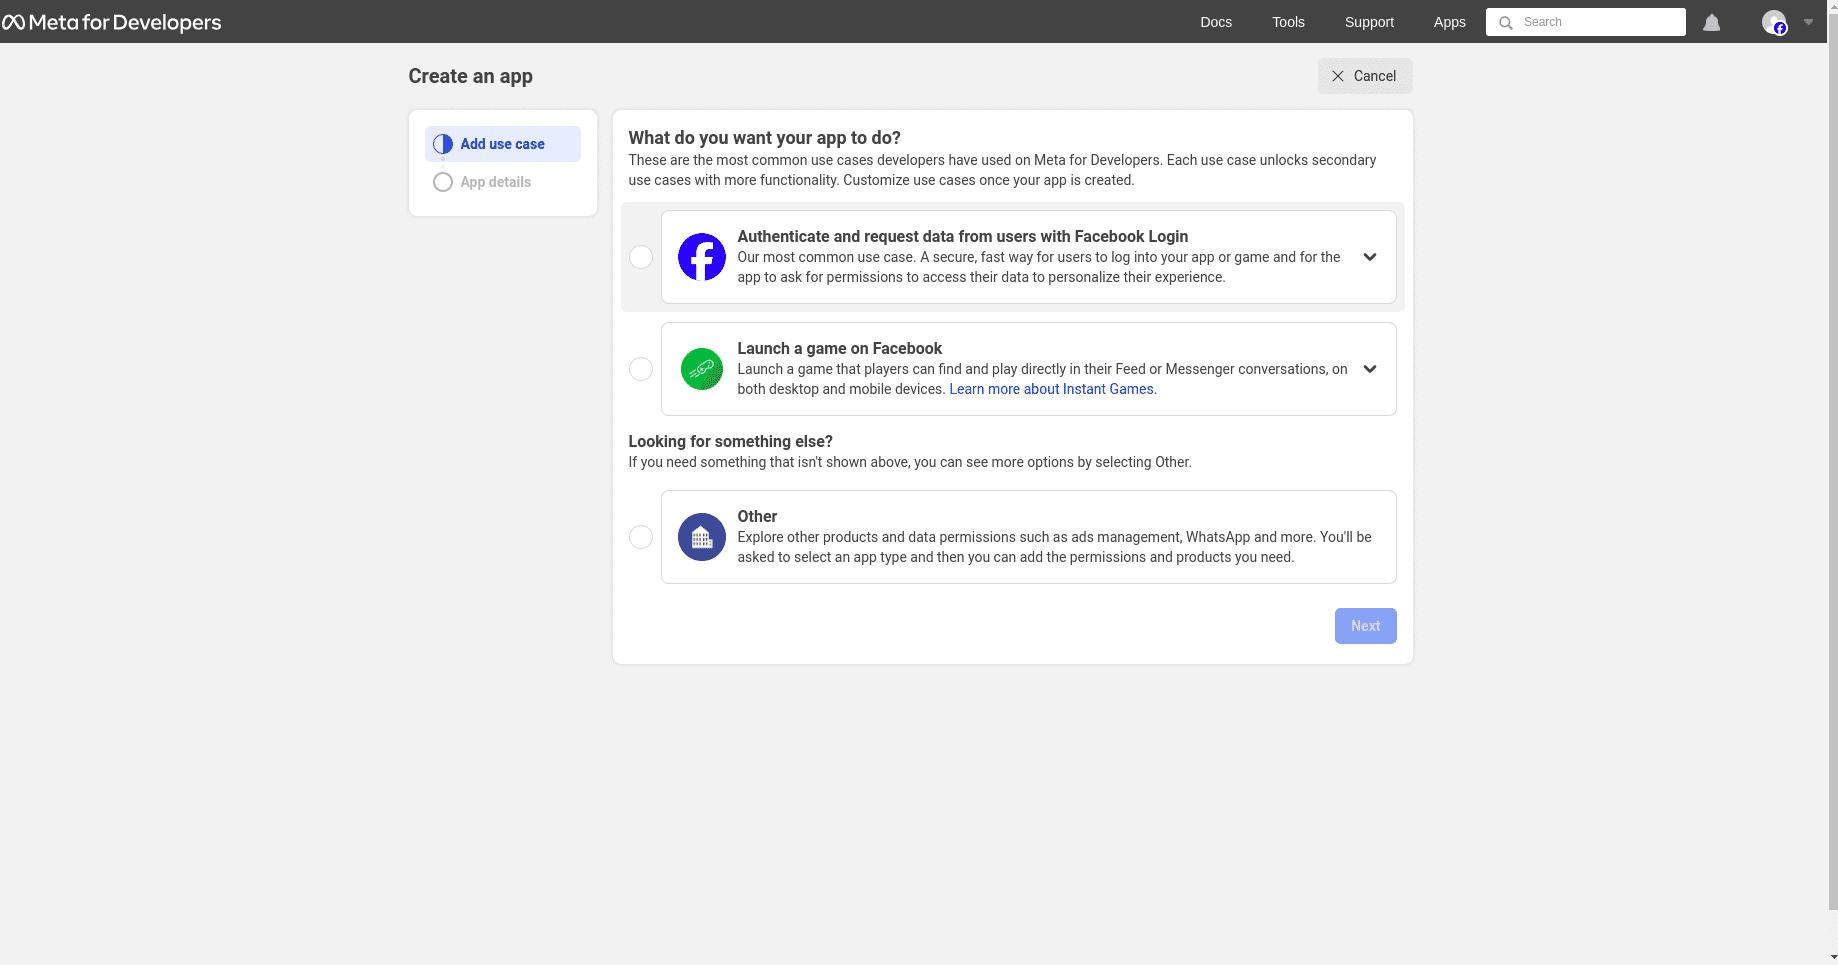
Go to the 'Other' option and continue by selecting 'Next'.
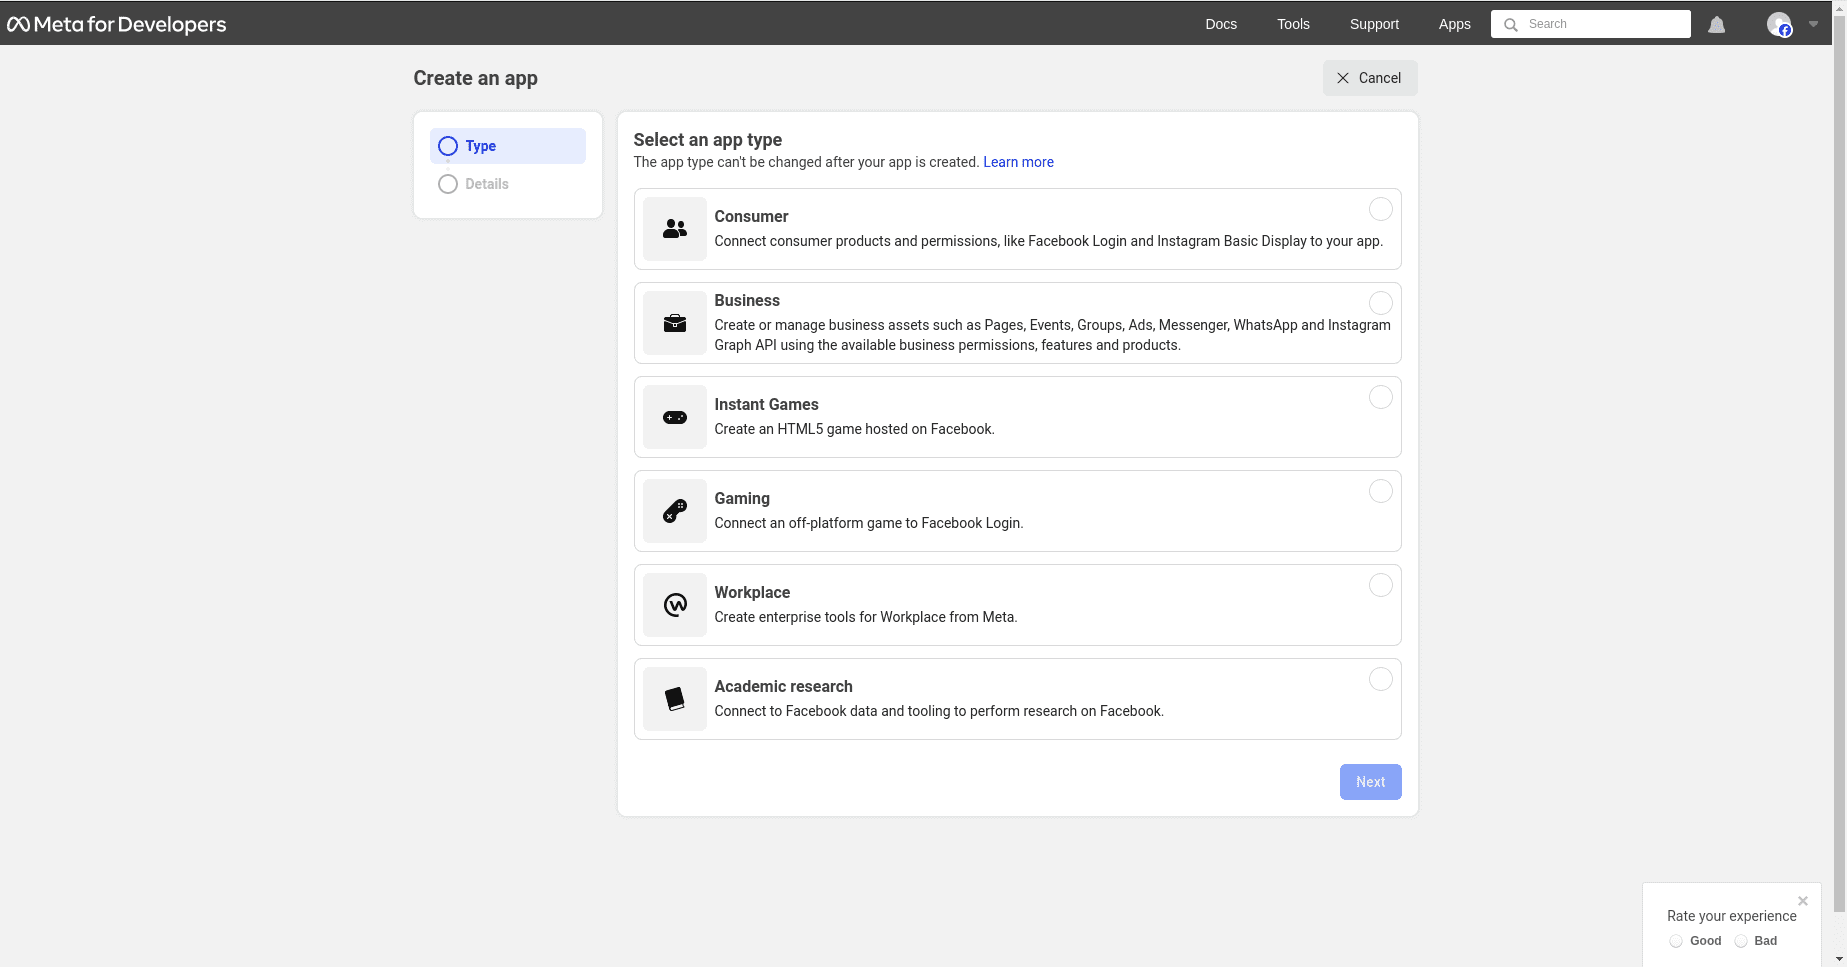
Type of App
On the Create an app page, choose 'Other' under the section labeled "Looking for something else?" and then click 'Next' to proceed to another page to select the app type. Subsequently, click on the first option listed under the label 'Select an app type', named 'Business'. This option facilitates the creation and management of the WhatsApp API.
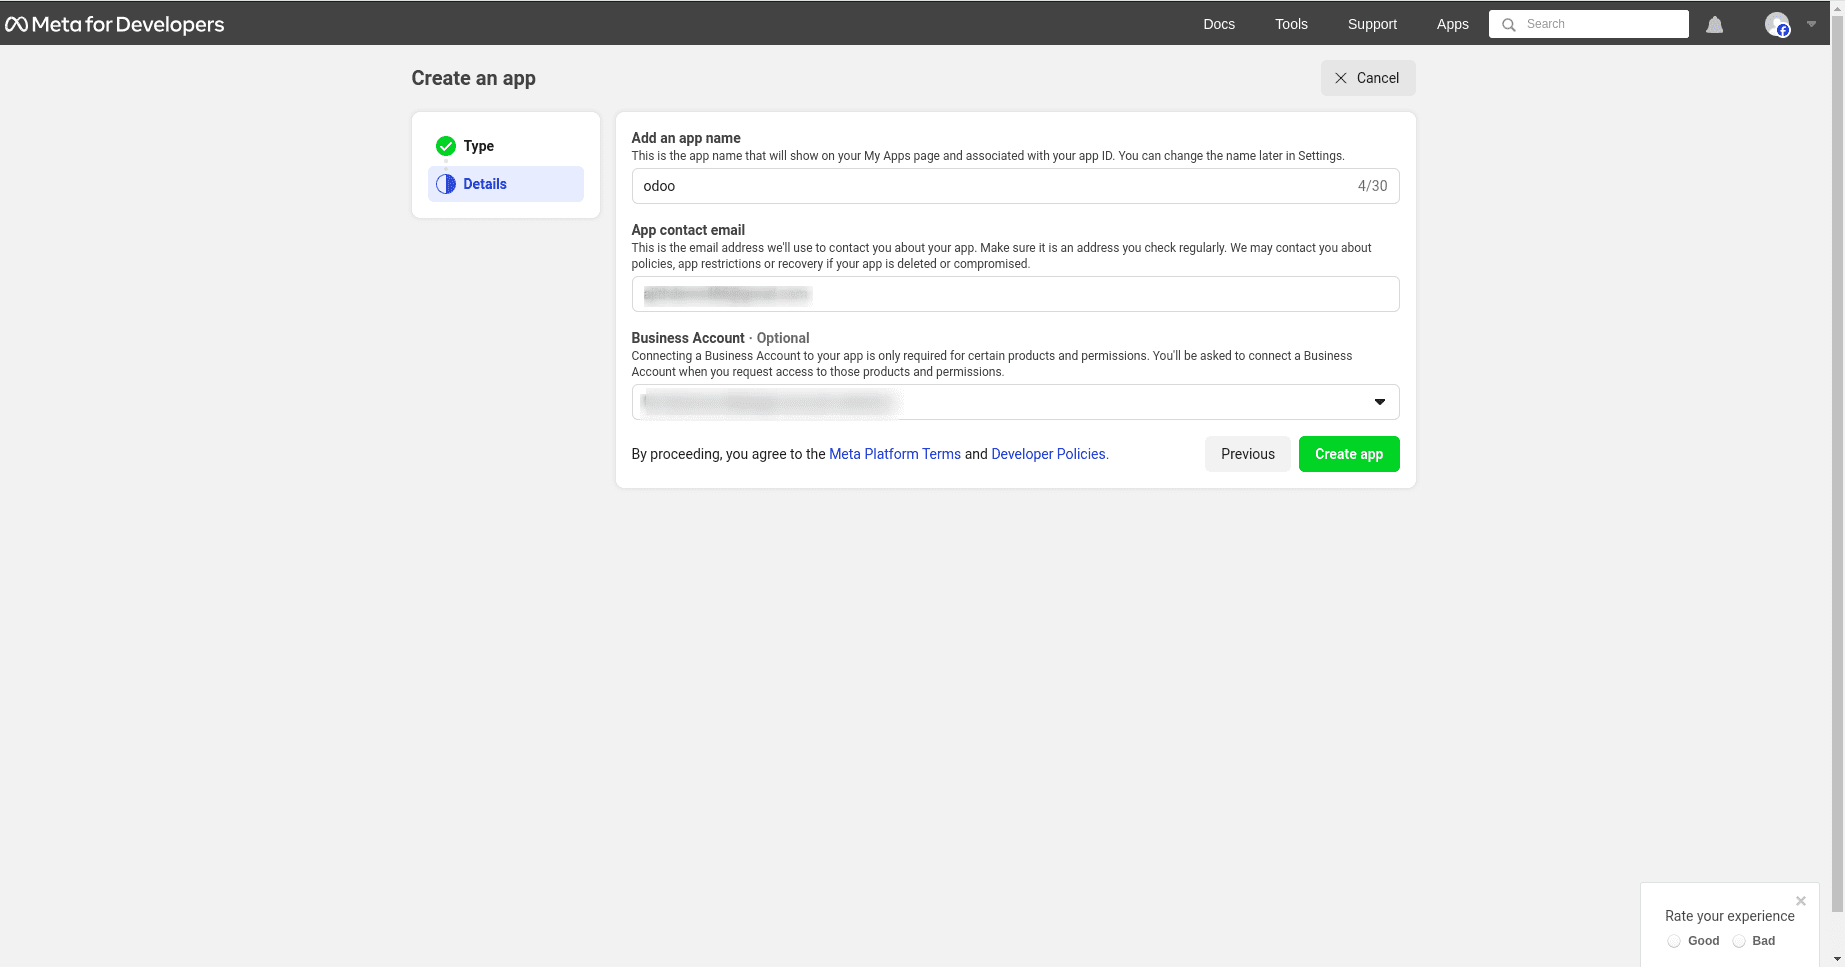
Application Details
In the Details section of the App creation process, input "Odoo" in the field labeled "Add an App name".
Then, input the developer email address in the field labeled "App contact email".
Finally, select the Meta business account profile from the drop-down menu in the "Business Account - Optional" field. To complete the process, click on "Create app".
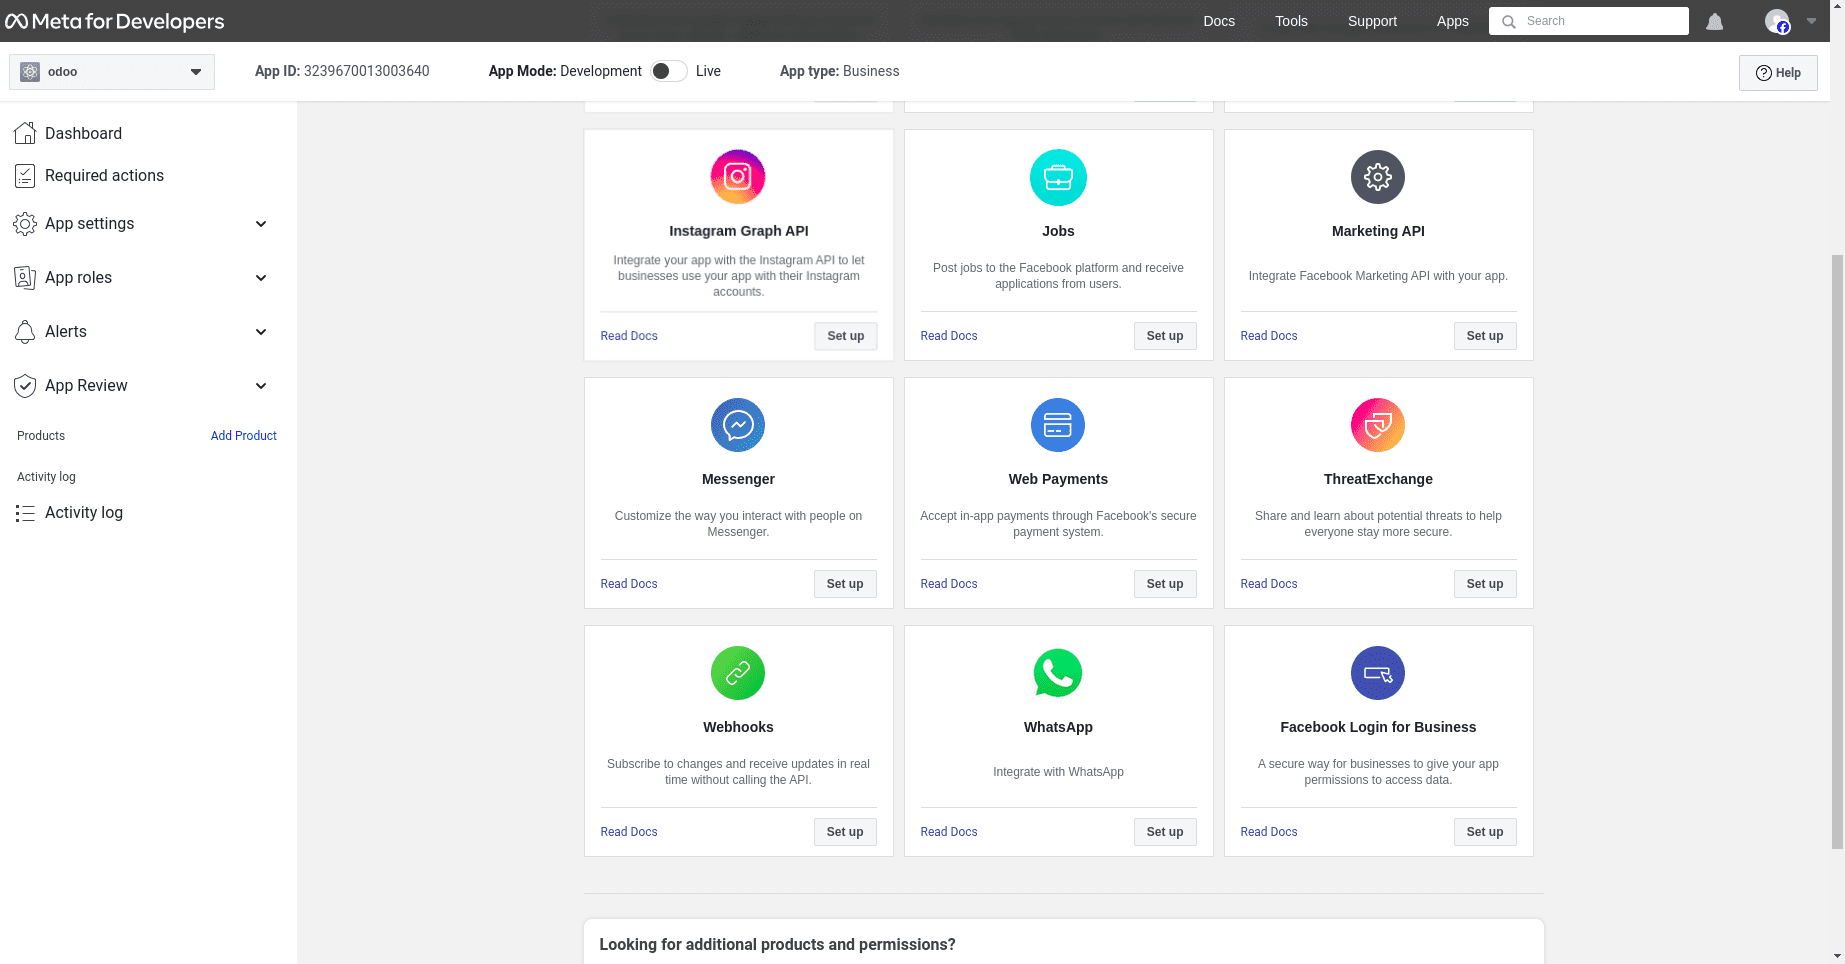
Adding a WhatsApp Product to the App
Once the foundational structure of the app is set up, the subsequent step is to add a product. To commence this process, access the Meta app dashboard by visiting https://developers.facebook.com/apps and selecting the specific app currently under configuration.
Move to the subsequent page, and since WhatsApp will be utilized, click on 'Set up' adjacent to the box corresponding to WhatsApp, located towards the bottom of the page.
The page subsequently navigates to the configuration page for the WhatsApp Business Platform API. Utilize the drop-down menu to designate the Meta business intended for configuration under the 'Select a Meta Business Account' option, then click 'Continue' to confirm the selection.
Commence utilizing the WhatsApp API.
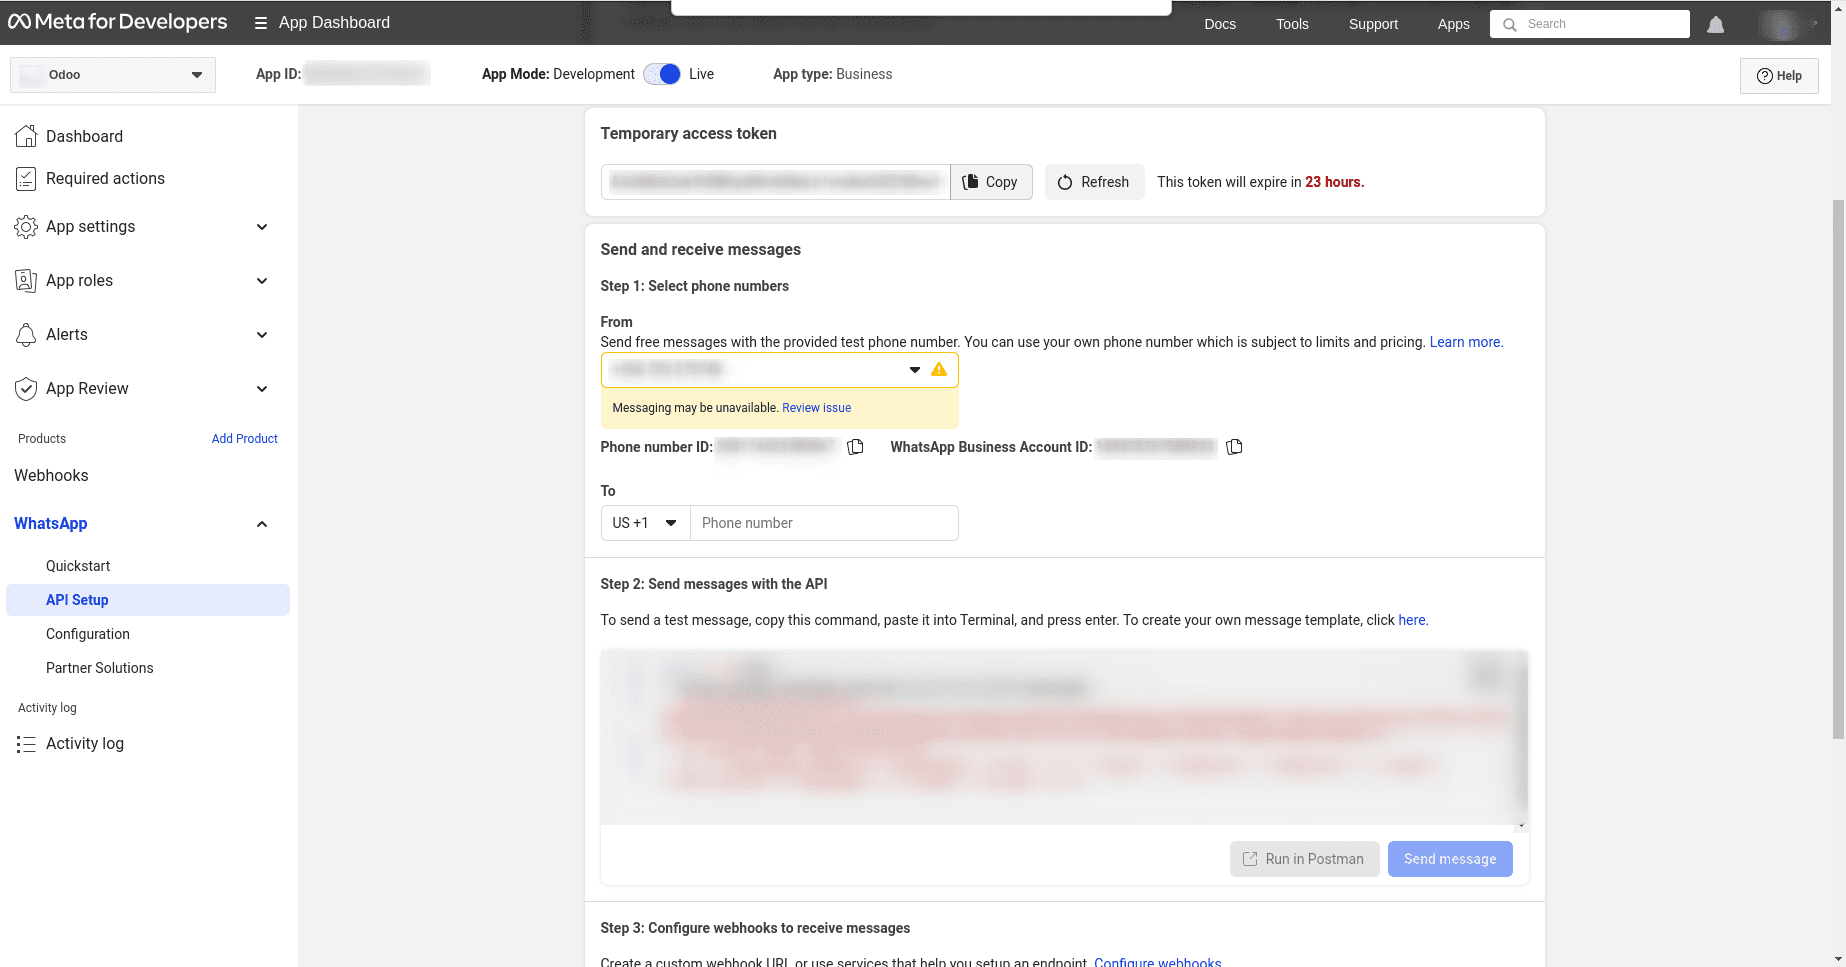
After finishing the previous WhatsApp product wizard and selecting 'Continue,' the browser will redirect to the WhatsApp Quickstart page. This Quickstart page serves as the initial step for configuring the WhatsApp API, which includes adding a phone number and sending an initial test message.
Setting up WhatsApp in Odoo
To set up WhatsApp in Odoo, go to the settings or configuration area of your Odoo instance. Find the WhatsApp integration options and enter the required details, including your WhatsApp Business API credentials. Make sure the configuration meets your business requirements and goals, then save the settings to enable smooth communication via WhatsApp within the Odoo platform.
| Name | Meta Console | Odoo Interface |
| Phone | Phone number ID | Phone Number ID |
| Token | Temporary access token | Access Token |
| App ID | App ID | App ID |
| Account ID | WhatsApp Business Account ID | Account ID |
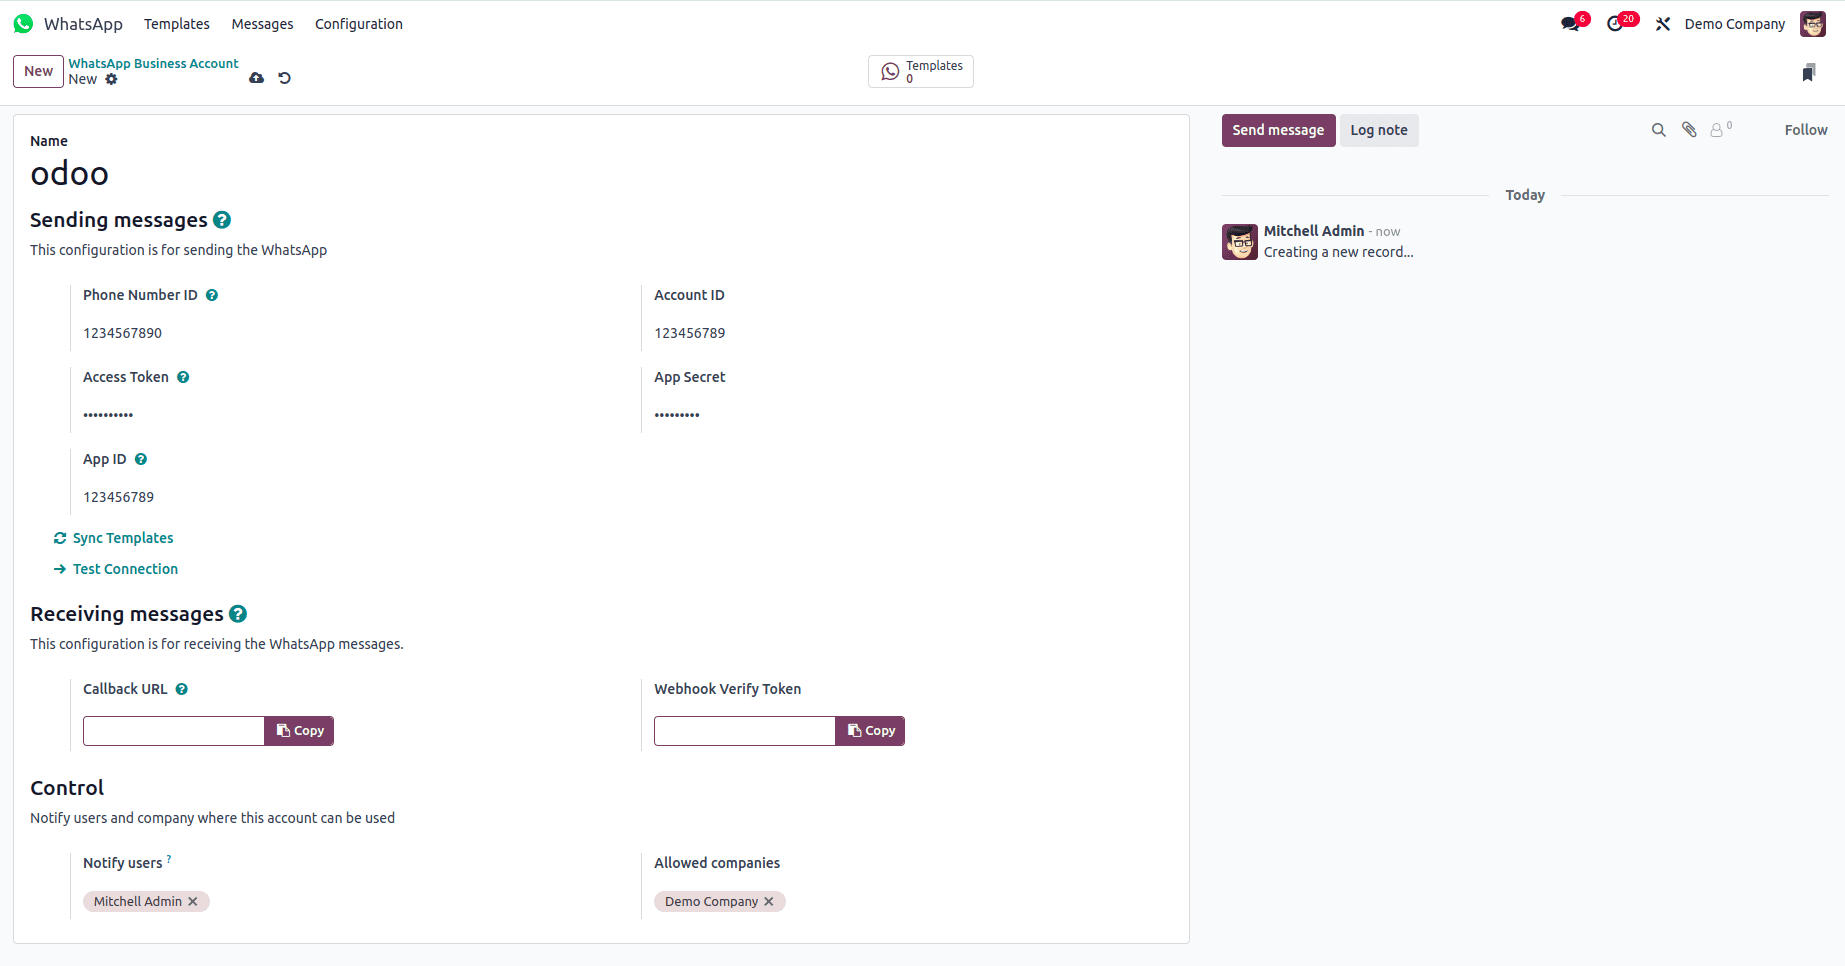
To finalize the setup of the WhatsApp business account in Odoo, select "Test Connection". If the configuration is correct, a successful message in green will appear in the upper-right corner of the dashboard.